AraCred Manual Deployment
This is how to deploy your own AraCred instance on manual mode.
Prerequisites
- A computer connected to the internet.
- An Ethereum address with some ETH.
- An Aragon DAO. (You'll need at least 0.1 ETH to deploy your own DAO)
- A GitHub account.
- An Infura account.
Step 0: Basic setup (Required)
- Fork AraCred
- Enable GitHub Actions
- Ethereum Key
- Infura Key
- GitHub Secrets
We recommend creating unique accounts for your AraCred instance.
- A unique project email for project admin functions.
- A unique Infura account associated with said project email so that your API key is only used for AraCred stuff.
- A dedicated GitHub account tied to the project email for your GitHub API Token as well as to run GitHub actions.
- A unique Ethereum key with a very low amount of ETH to pay for gas fees for AraCred.
These measures separate security concerns while also decreasing the likelihood of poor performance due to rate limiting.
Step 1: Connect your DAO to AraCred (Required)
The DAO we used for this walkthrough is https://mainnet.aragon.org/#/aracreddeploymenttesting/
Create A DAO
- Start Here
- Step 1
- Step 2
- Step 3
- Step 4
- Step 5
- Step 6
- Step 7
- Step 8
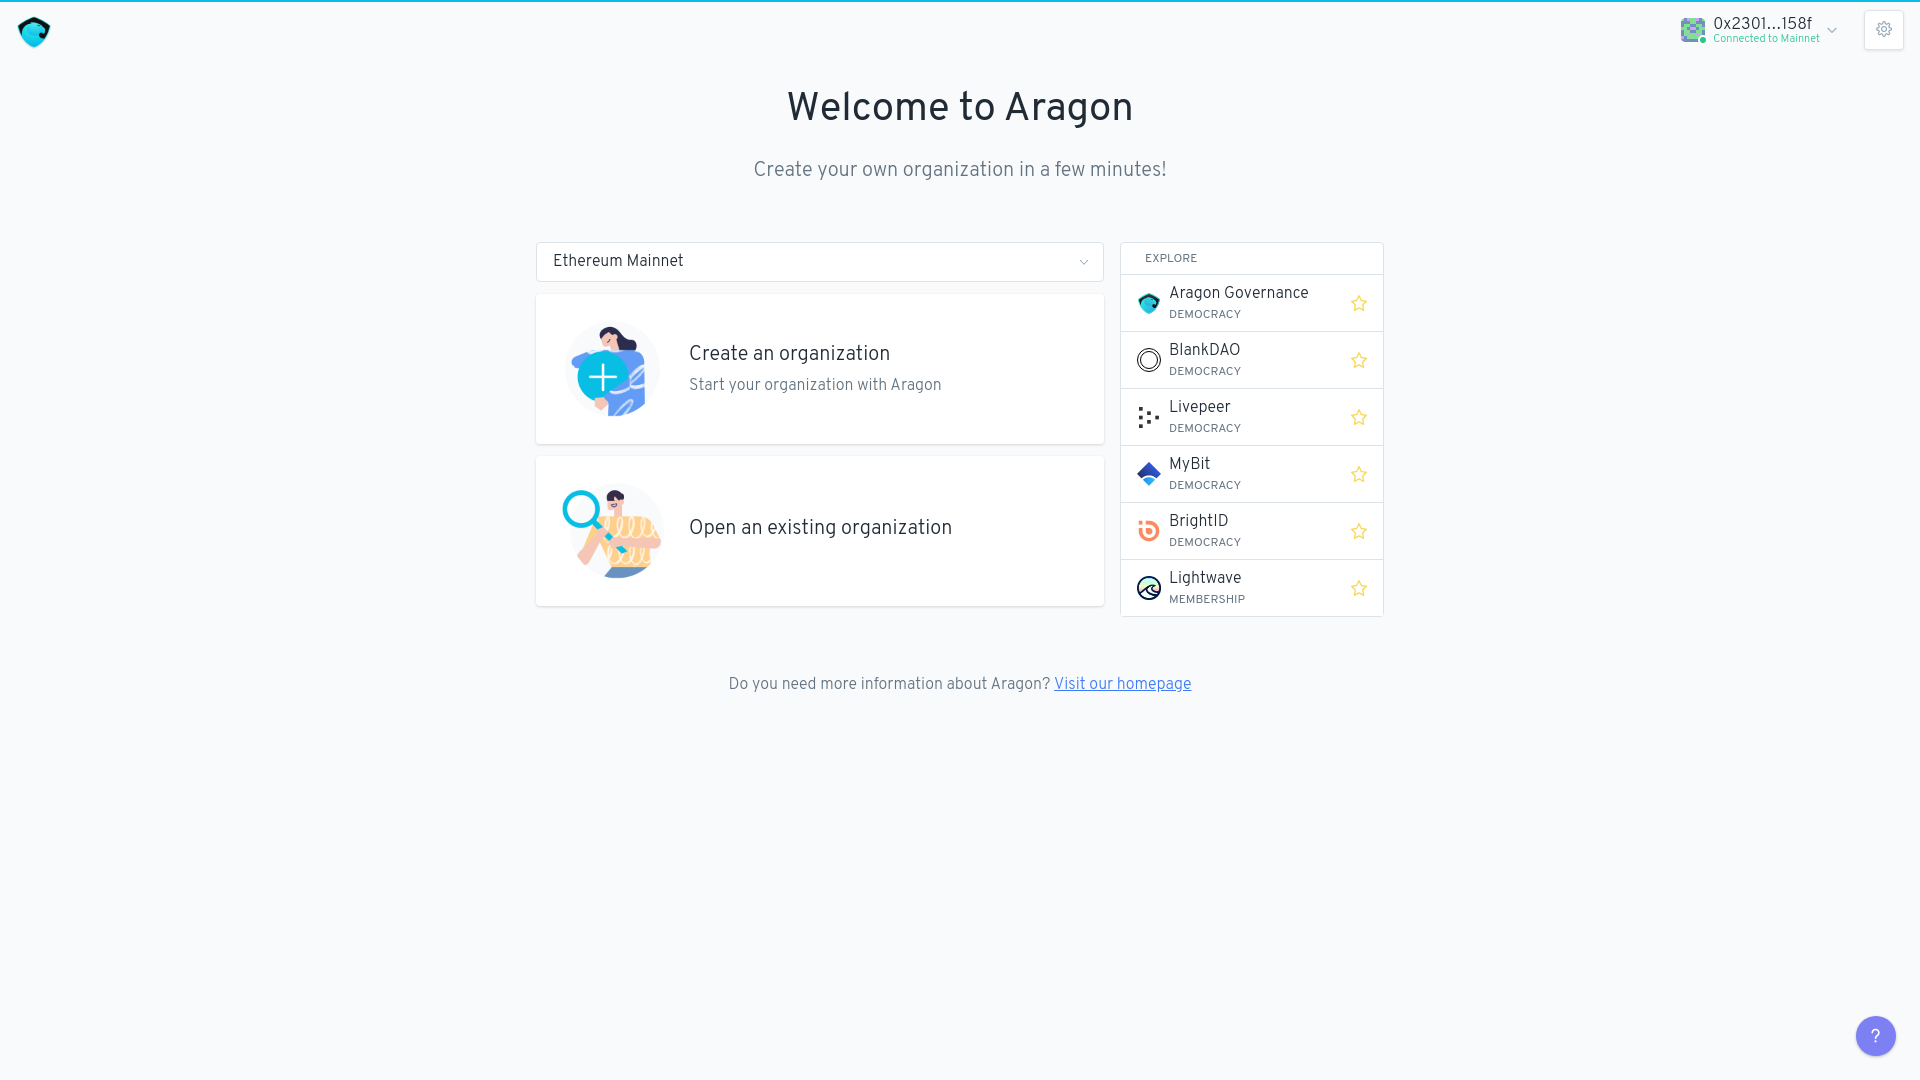
Connect Your DAO to AraCred
- `dao.json`
- Get DAO Params
- Update `dao.json`

You'll need to update dao.json with the parameters of your new Aragon DAO.
Step 2: Run AraCred on GitHub repos (Optional)
If you don't want to connect AraCred to GitHub you'll have to remove all GitHub related info from
project.json.
- Open project.json
- Add GitHub Repos
- Add GitHub Usernames
Step 3: Run AraCred on a Discord server (Optional)
If you don't want to connect AraCred to Discord you'll have to remove all GitHub related info from
project.json.
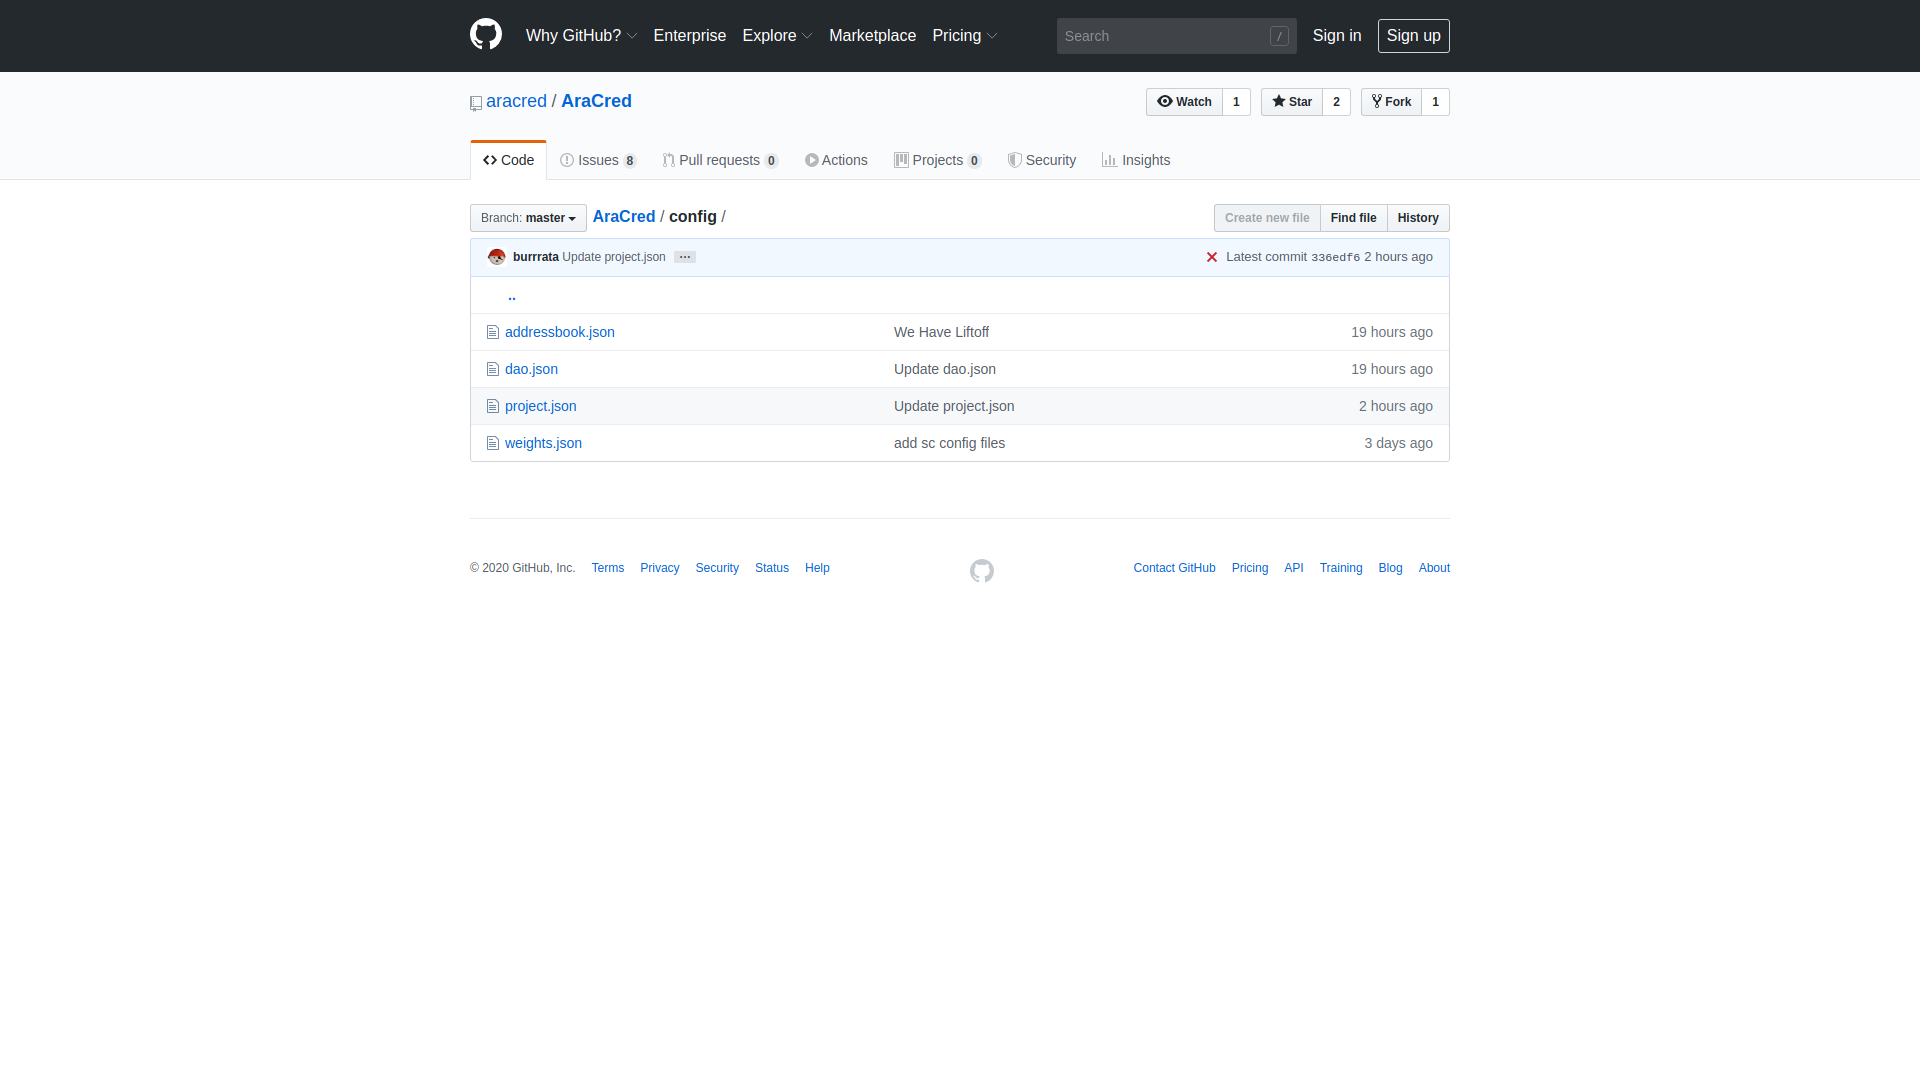
- Enable Developer Mode
- Build A Bot
- Connect Bot to GitHub
- Connect Discord to AraCred
- Add Discord UserIDs to AraCred
Step 4: Discord onboaring bot (Optional)
This is dependent on Step 3. If you don't want to use a bot to onboard or you're not using AraCred on Discord then you can just edit the
identitiessection ofproject.jsonas described in the following sections.
- Deploy Onboarding Bot
- Setup Heroku
- Configure Dynos
- Talk To Bot
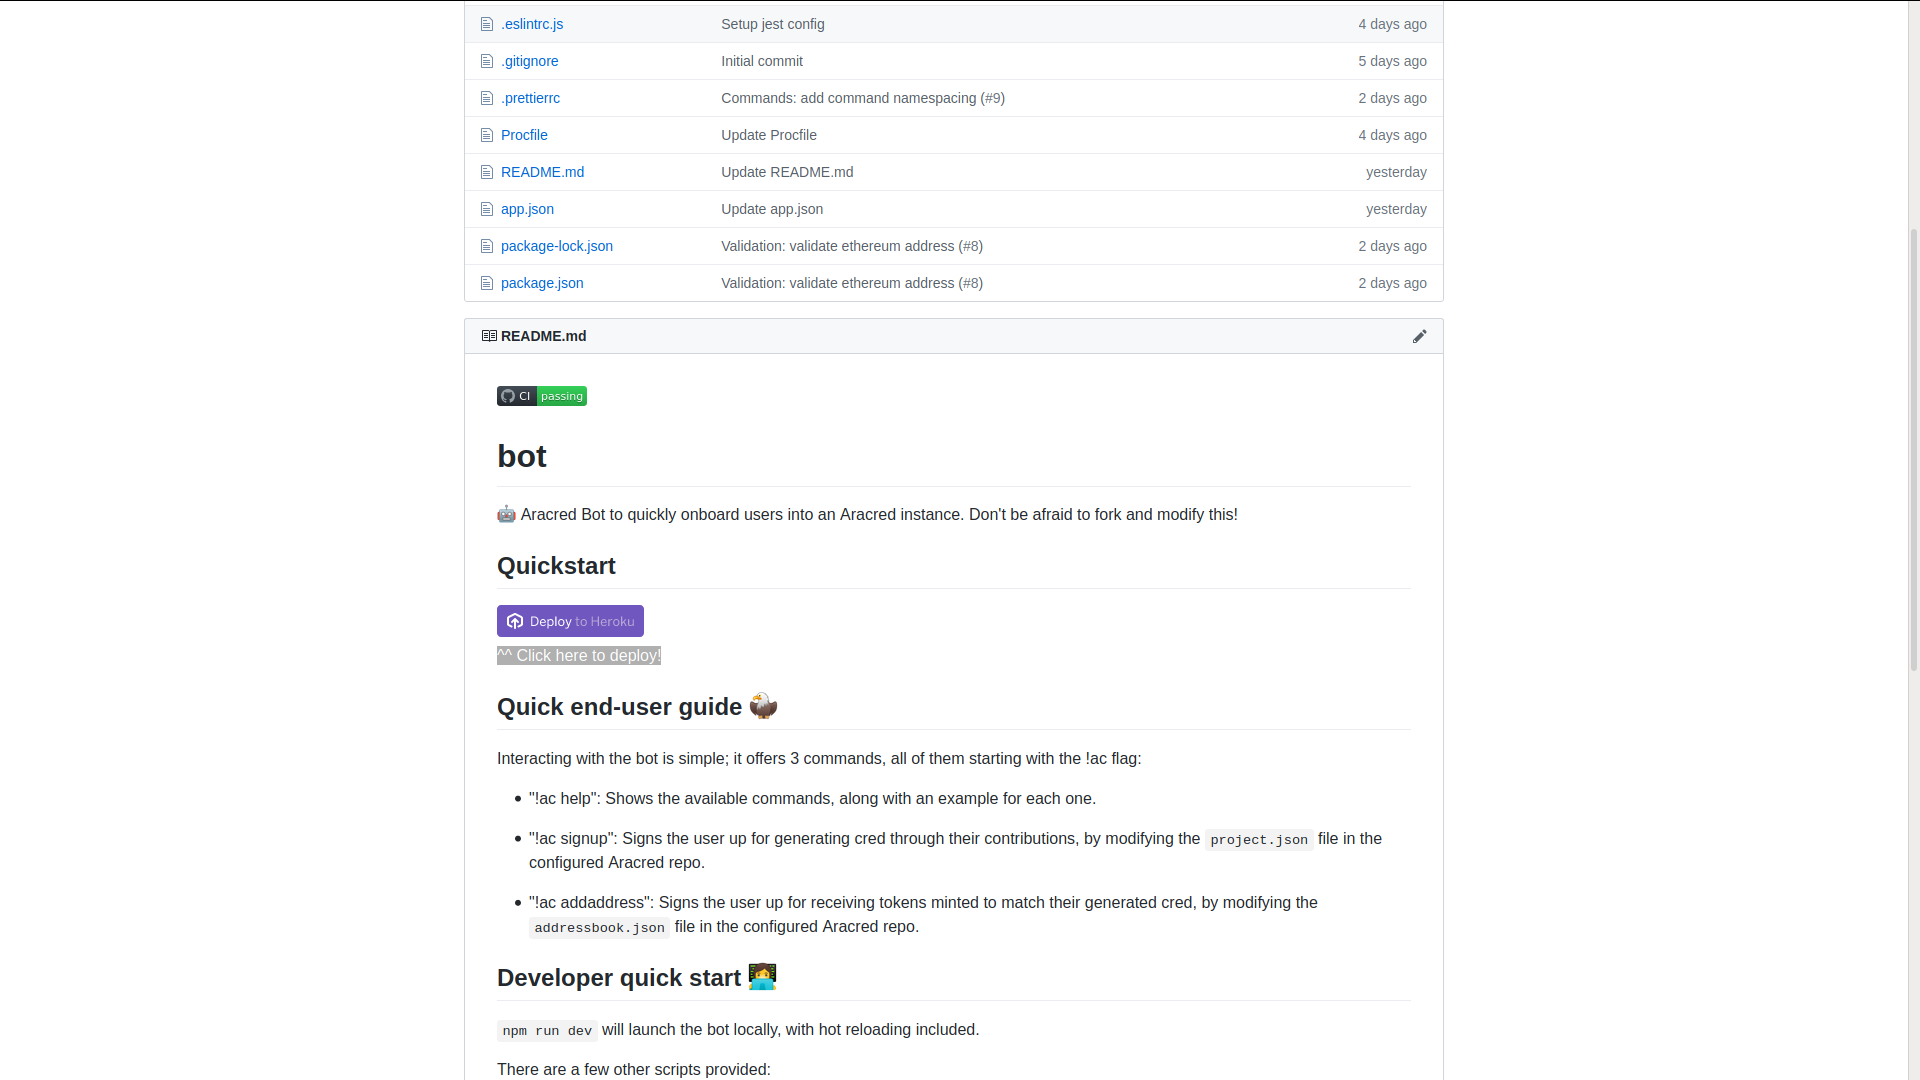
Go to the AraCred bot page and click the "Deploy To Heroku" button.
Step 5: Run Aracred on Discourse (Optional)
If you don't want to connect AraCred to Discourse you'll have to remove all GitHub related info from
project.json.
- Add Discourse Forum
- Add Discourse Usernames
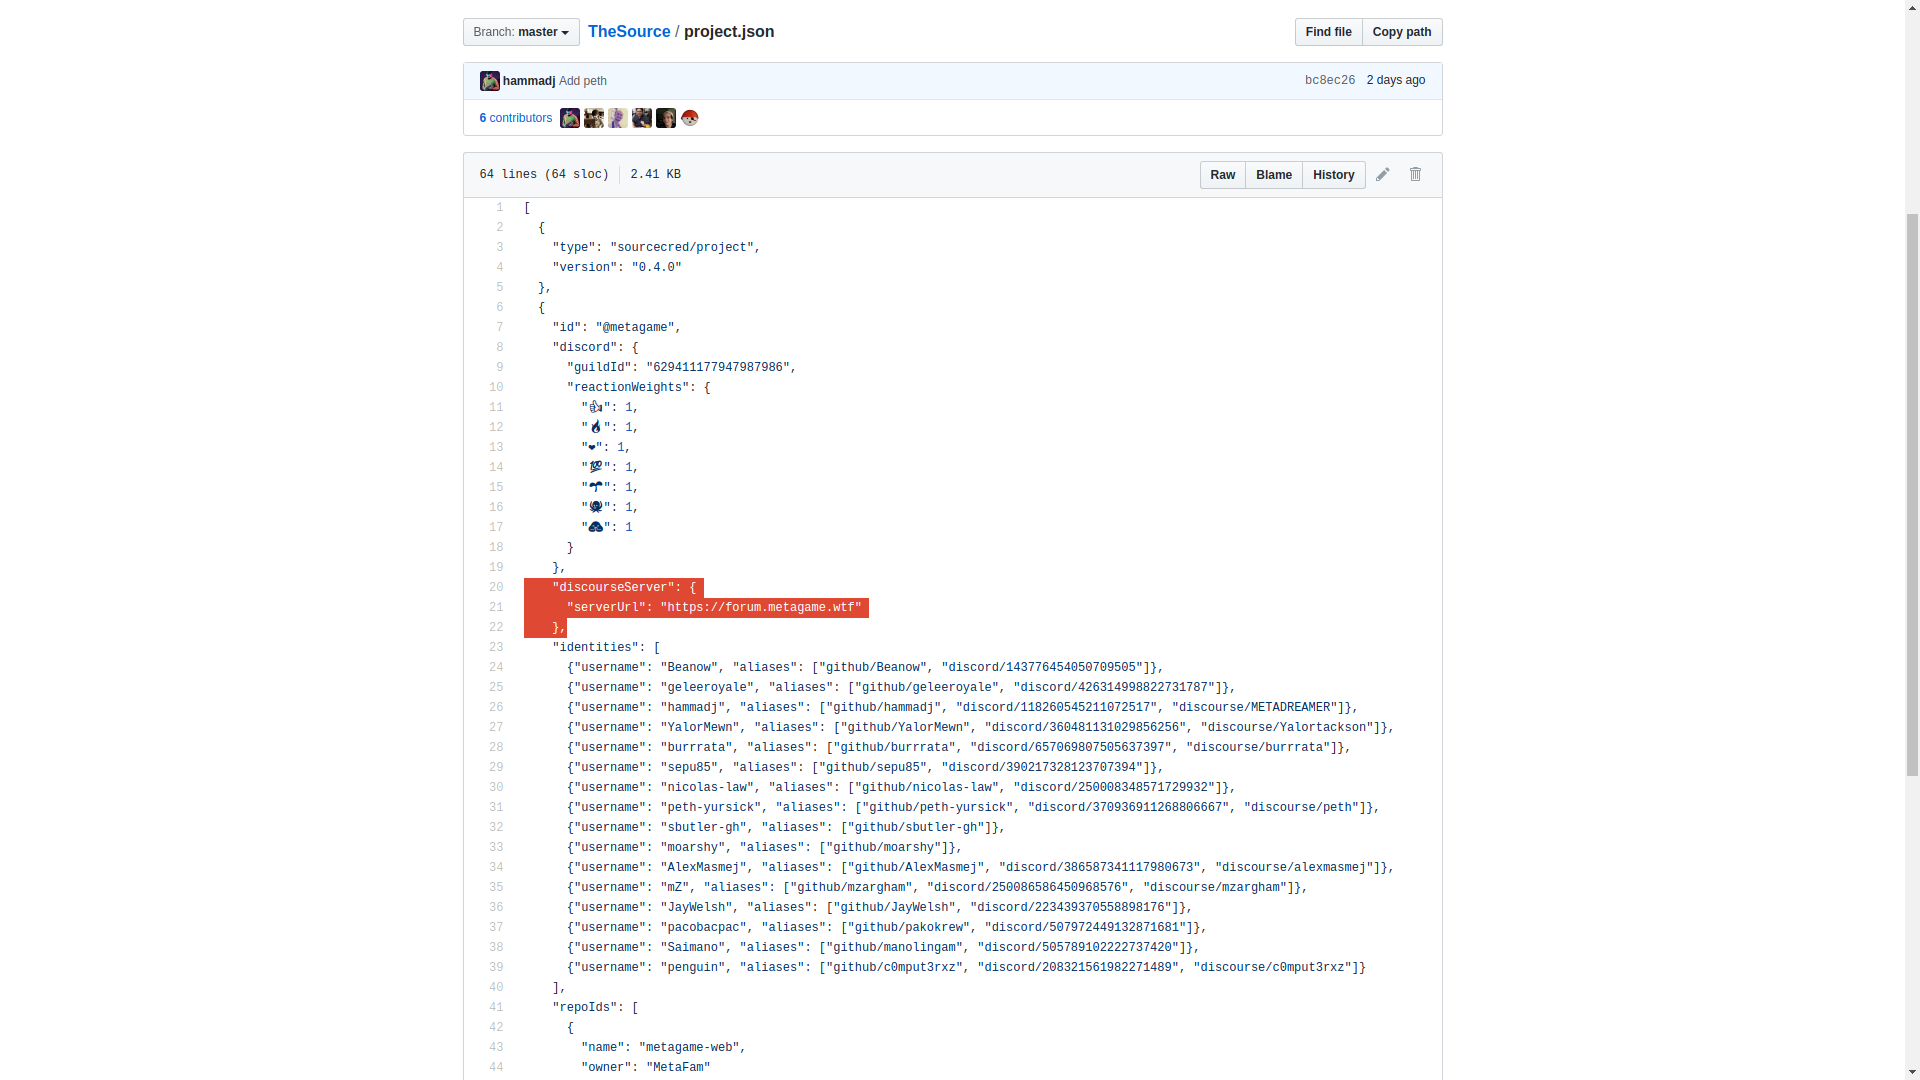
Note! You cannot have a trailing backslash in the Discourse forum URL.
This is good: "serverUrl": "https://community.your-community.org"
This will not work: "serverUrl": "https://community.your-community.org/"
Step 6: Visualize Your Cred Graph (Recommended)
Talk about setting up GitHub Pages on the docs folder, then explain a bit about how to read the graph.
- Enable GitHub Pages
- SourceCred Docs Mainpage
- View Cred Graph
- Post Cred Graph Link
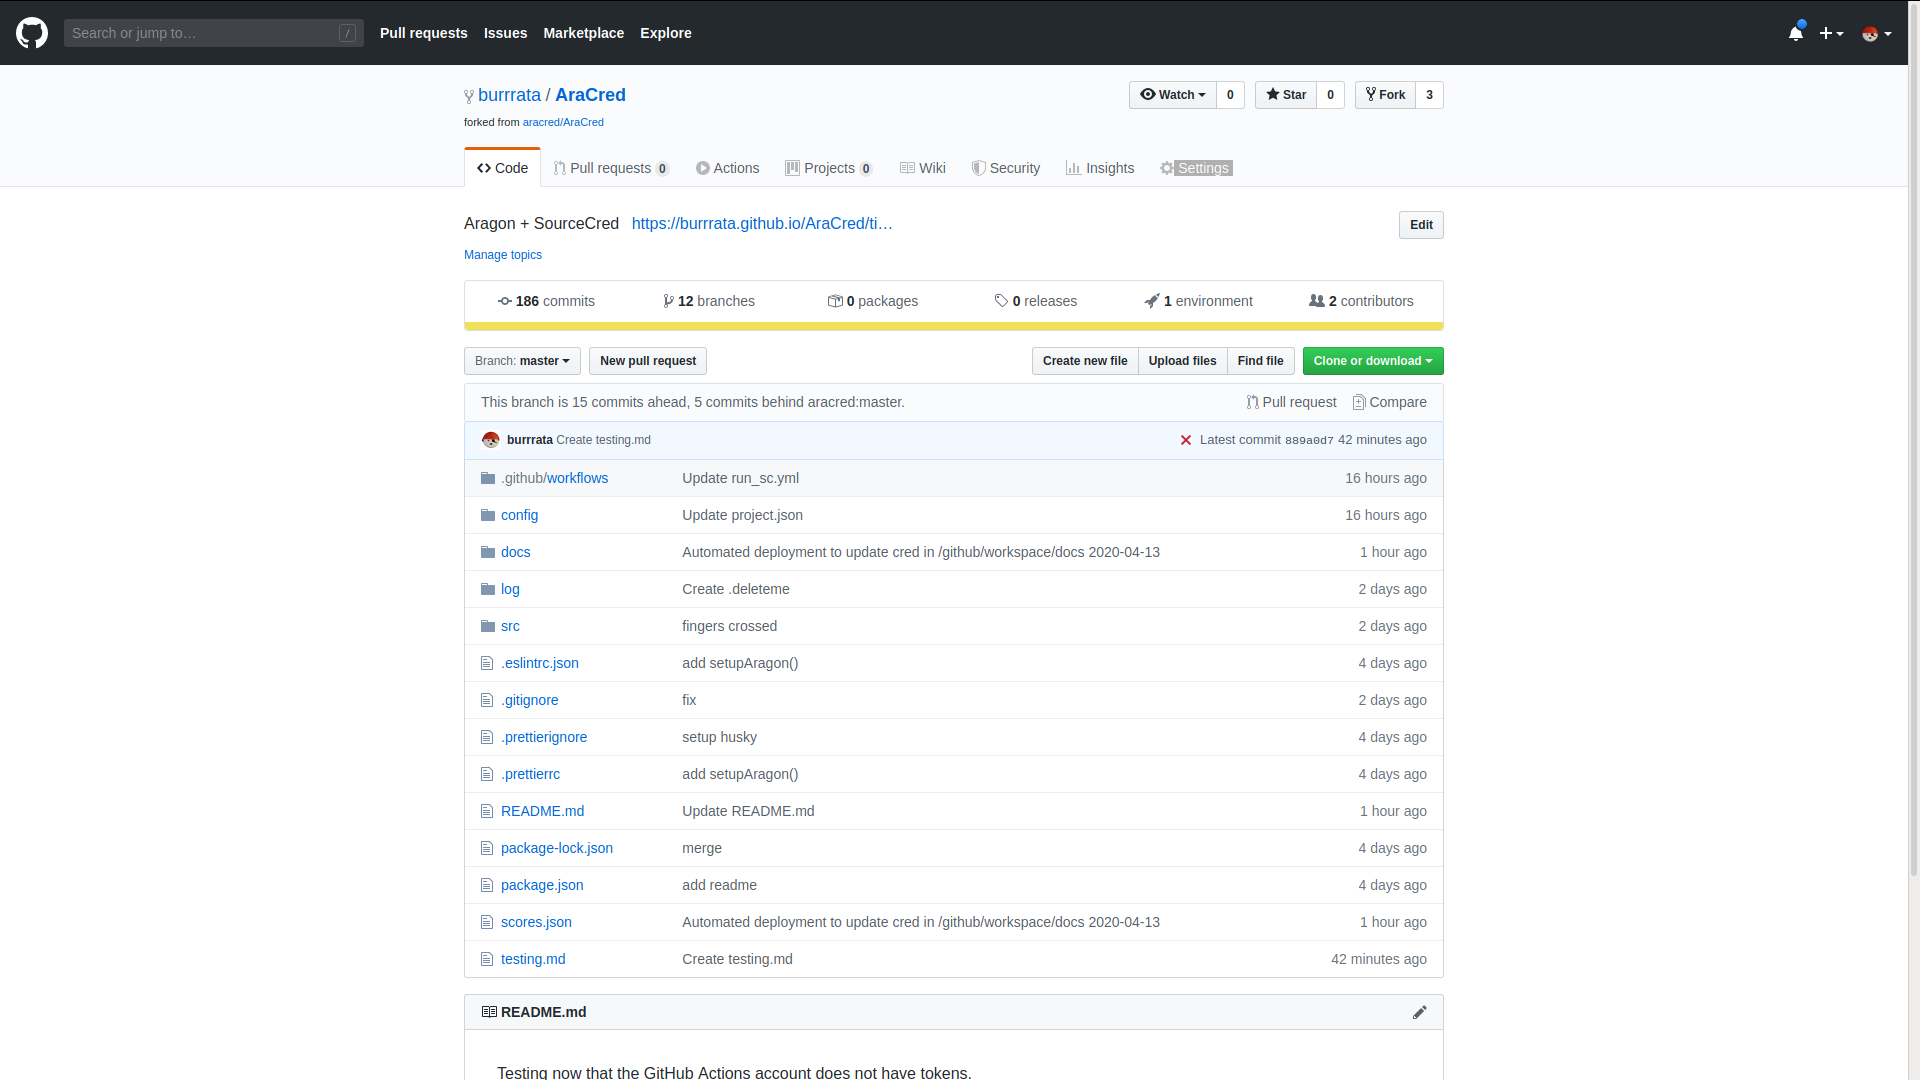
Open Settings.
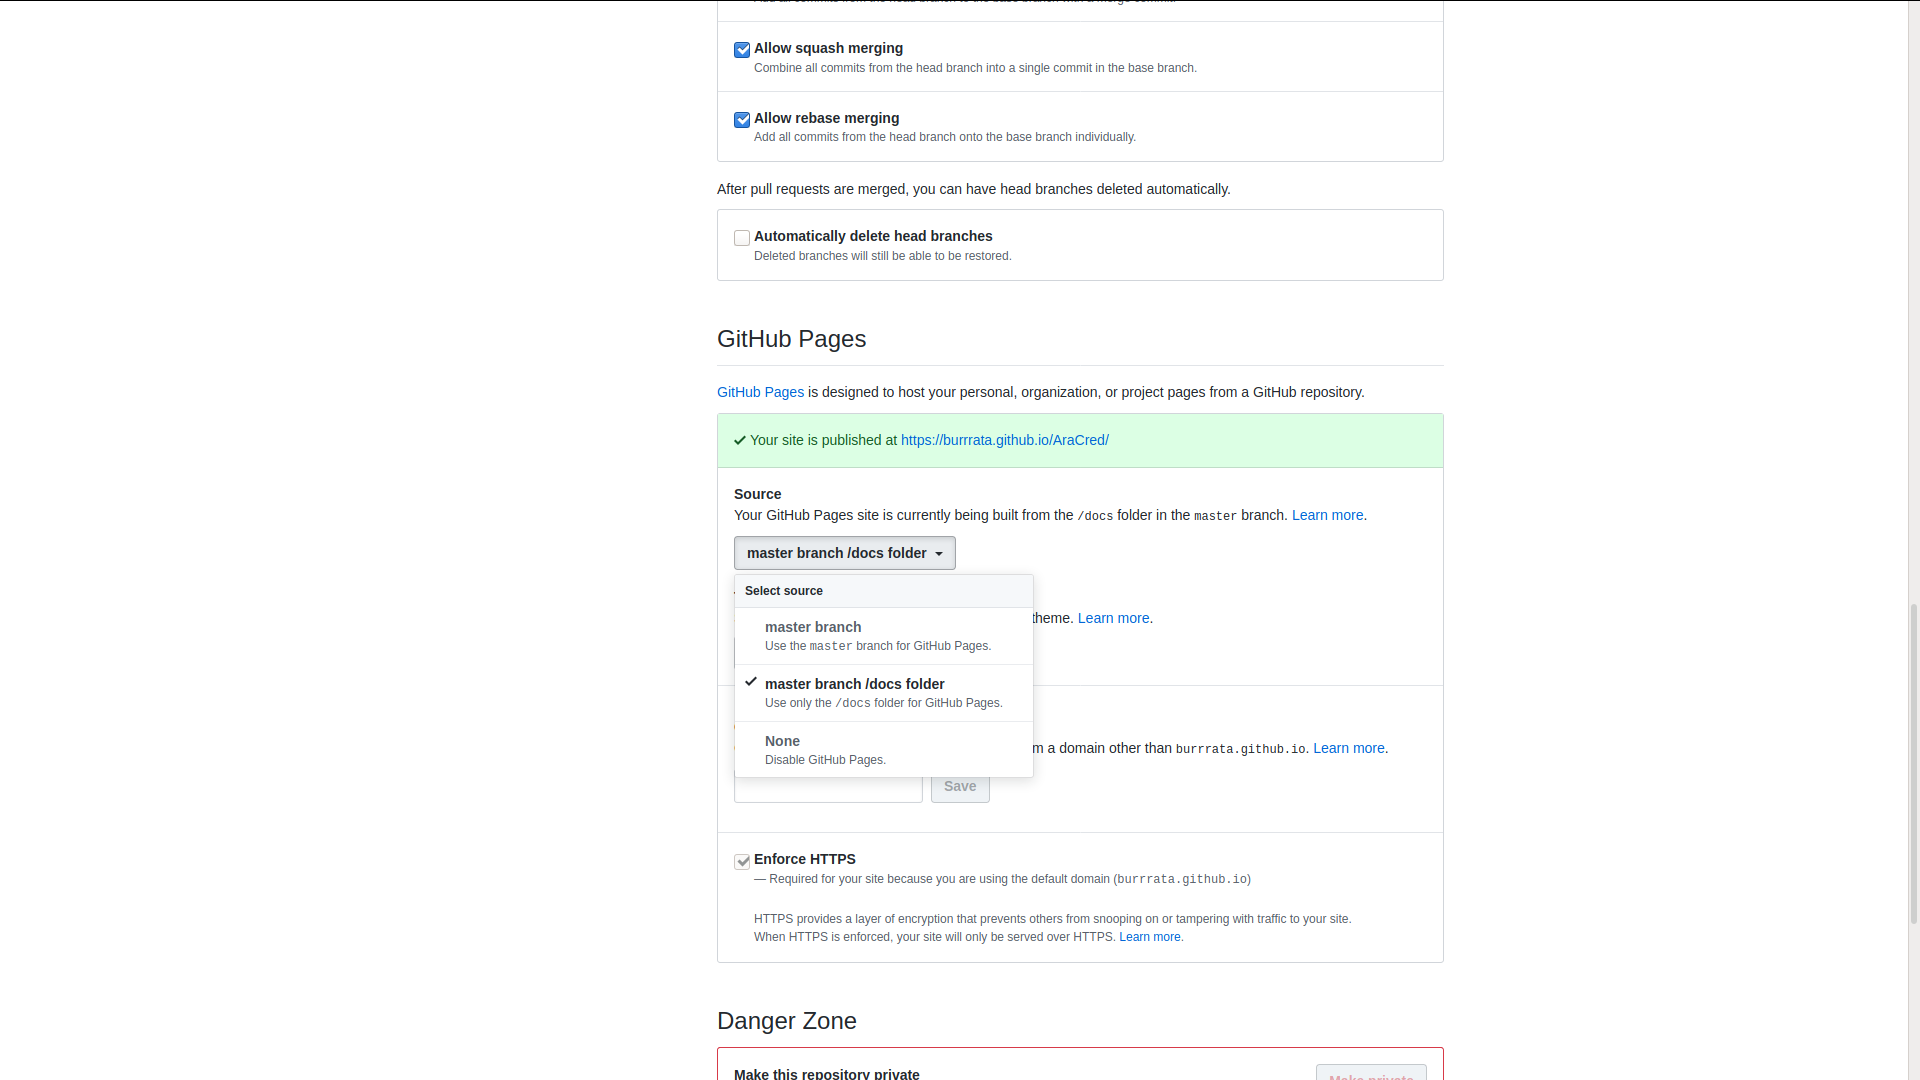
You'll need to enable GitHub pages to run on the docs folder.
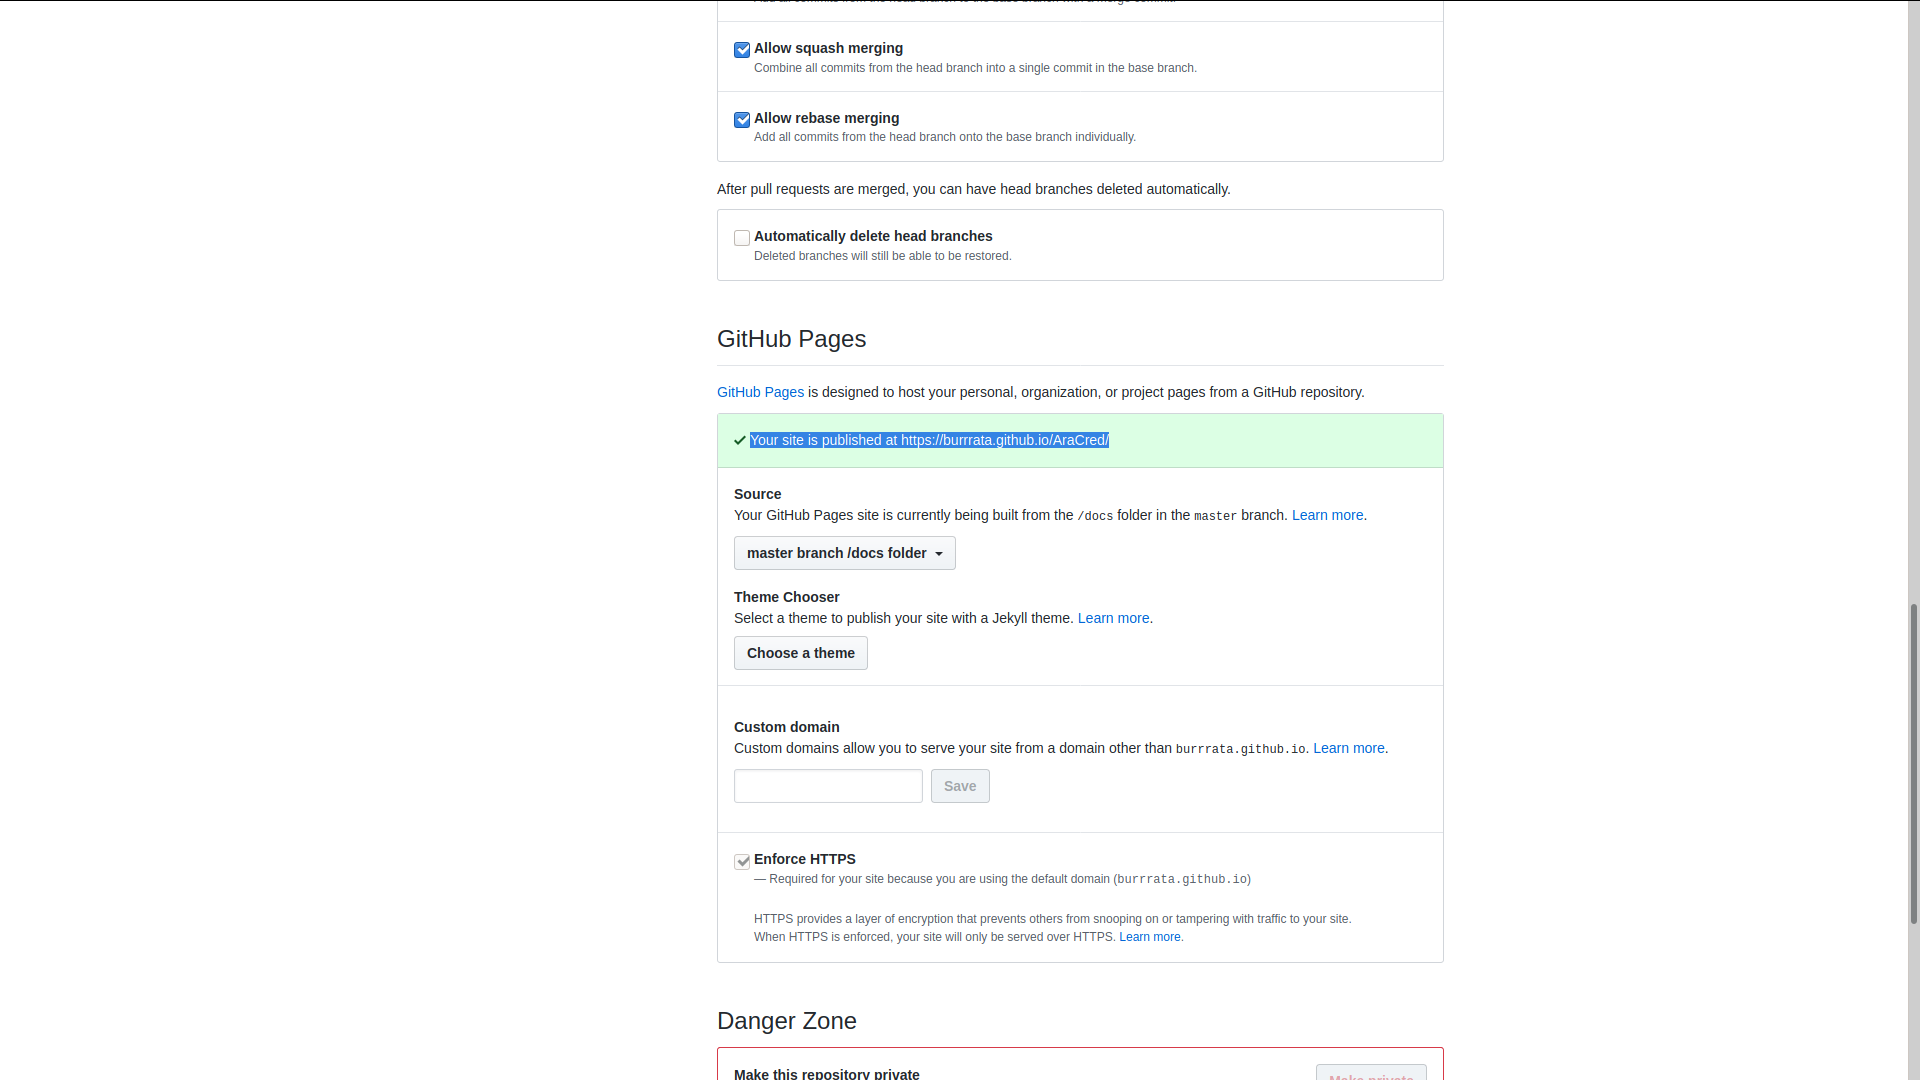
GitHub will provide you with a link once the docs folder is successfully deployed.
Step 7: See your tokens being minted (Required)
Show how votes are created to mint tokens, and how if you set the threshold to 0 as long as no one objects they go right through.
- Check Open Votes
- Vote
- Check Open Votes Again
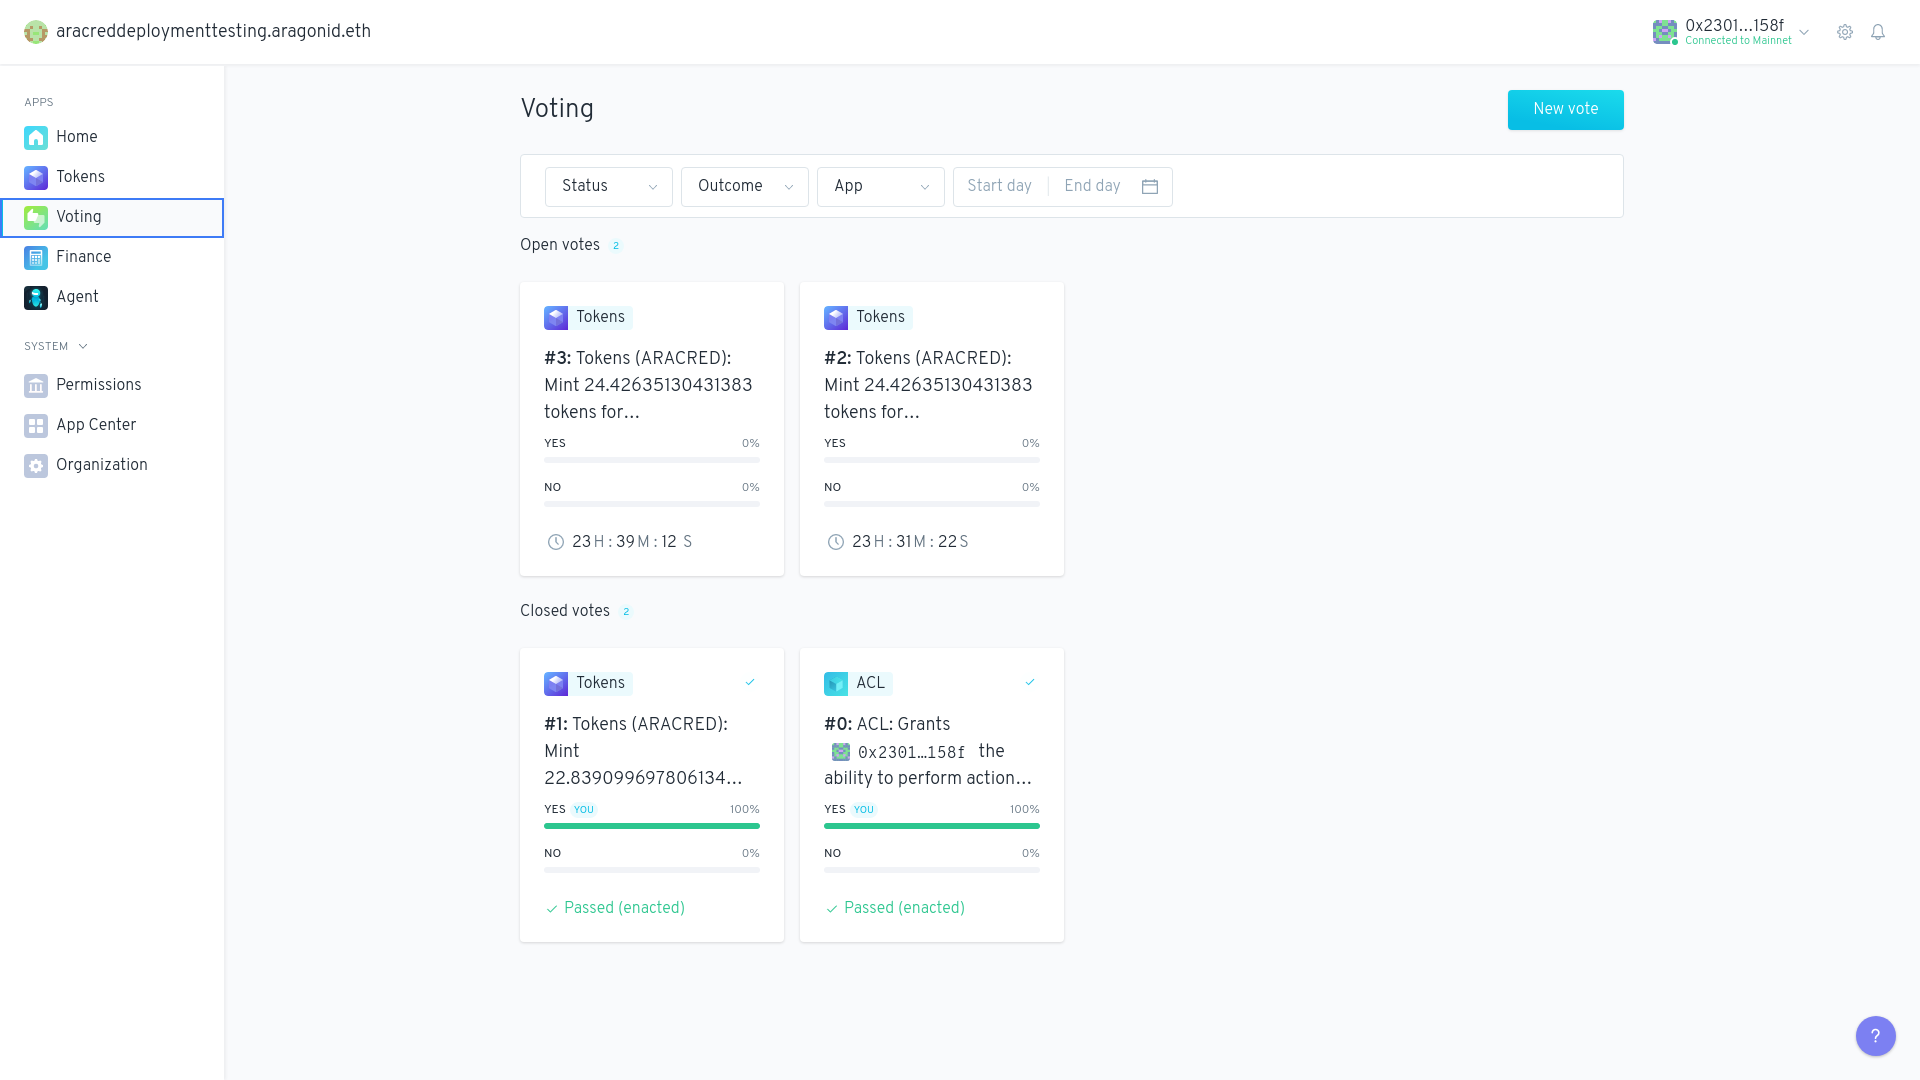
Open the DAO and open the Voting app.

